You know that sinking feeling when you are 40 miles into a 70-miler and you hear a funny noise, your rims are touching the tarmac, or your bike just suddenly stops (ok, less common but I’m sure it’s happened to someone). We’re advised to take certain tools, spare parts and fixing implements with us on rides which prepares us for the worst (please see previous post), but without the necessary skills and experience, you could just be carrying extra weight.
As Ray Mears once said, “the most valuable piece of kit weighs nothing – knowledge” (or something along those lines).
Now be honest. Did you decide to buy a bicycle mechanic book that will teach you everything you need to know about your bike but have yet to read past the contents page? It can be truly overwhelming (most of these books probably weigh more than your bike) but in reality, there are some more common mechanical failures that are worth understanding and spending the time learning how to remedy.
Disclaimer: There are undoubtedly instances where a mechanical failure will spell the end of your ride and, without carrying a bicycle workshop or spare bike, will require a visit to a bicycle shop. The following however, are some of the more common problems that we have to deal with on a more regular basis:
1. Punctures. Ok, this is perhaps a given, but it is by far the most common mechanical any rider faces. Becoming slick at fixing punctures is essential and it’s worth practicing how to do it at home. Gone are the days of using an old pair of spoons and a tube of messy glue, most riders as a bare minimum will carry two purpose-made levers (we’ve found the Park Tools levers to be the best) and at least one spare inner tube.
Top tips:
a) Always check the inside (and outside) of the tyre for the cause of the puncture and remove it (the following video is NOT a good example of how long to leave it)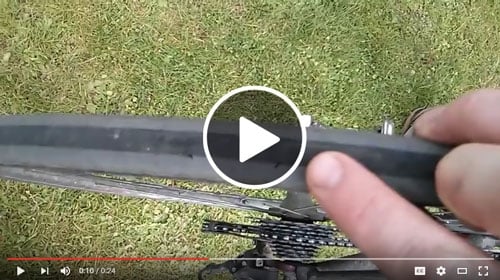
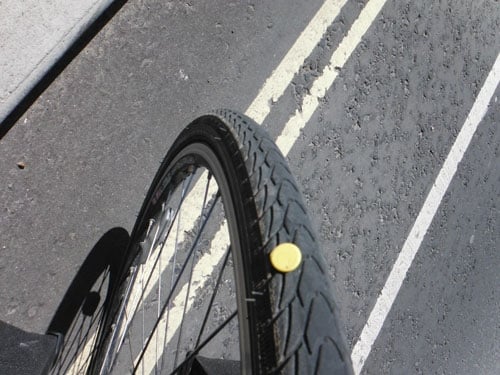
As anyone who has been on one of our trips will testify, we strongly recommend prevention before cure, so choosing the right tyres for the style of riding and conditions, and regularly changing your tyres, can save a lot of time and hassle. Check out how effective Schwalbe’s Marathon Plus can be (yes, that’s a safety pin!):
b) Put a little bit of air into the tyre before putting it back on and try to avoid using the levers to put the tyre back on. This will help to avoid getting a pinch where the inner tube gets trapped between the tyre beading and the rim. Some pinches are instant (that horrible hiss of a flat), whilst others are slow punctures at the pinched inner slowly rubs a hole.
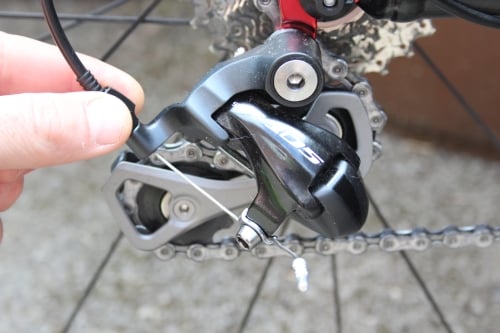
2. Tweaking the gears. Many riders are frightened about adjusting gears but there are a few easy techniques to understand that could save you a lot of time (and money!). The gears at the back of the bike should have been set up correctly when your bike was assembled but if your bike is reasonably new you may get some slipping/jumping of gears after a few hundred miles. The reason for this is that the gear cables stretch slightly as they are used. To remedy this, simply twist the barrel where the cable meets the derailleur anti-clockwise. You may only need to turn it very slightly, so turn it in quarter turns until the derailleur is running smoothly again.
3. Tweaking the brakes. As you use your brakes, the brake pads will inevitably begin to wear down. Provided they are not completely worn down and need replacing, if there is a large gap between your brake pads and the wheel rim, simply turn the barrel-adjuster where the brake cable meets the brake itself, anti-clockwise until the gap is reduced.
4. Chain snap. This is rare but, as detailed in a previous post, one of the items we will never ride without is a simple quick-release chainlink:
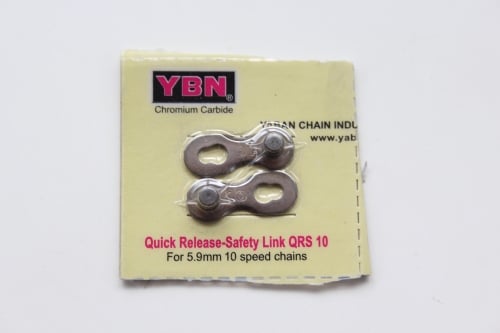
In the event of a chain break, you will need to remove the faulty link using your chain tool so you are left with two male ends.
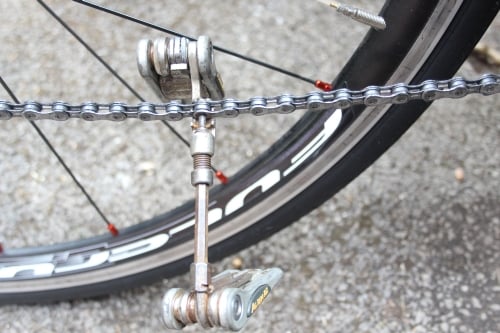
Then attach the quick release safety link and you’re good to go.
 © 2026